Wire-Wrapped Loops and Simple Earrings: A First Wirework Project
Wire wrapping is one of the most satisfying ways to turn a handful of beads into wearable jewelry. The simple wrapped loop forms the backbone of countless designs, yet it looks polished and professional once you master the motion. In this beginner-friendly project for 2026, we’ll learn to make consistent wrapped loops and assemble a graceful pair of drop earrings using basic headpins, beads, and ear wires. No previous experience is required—just patience and a little practice wire.
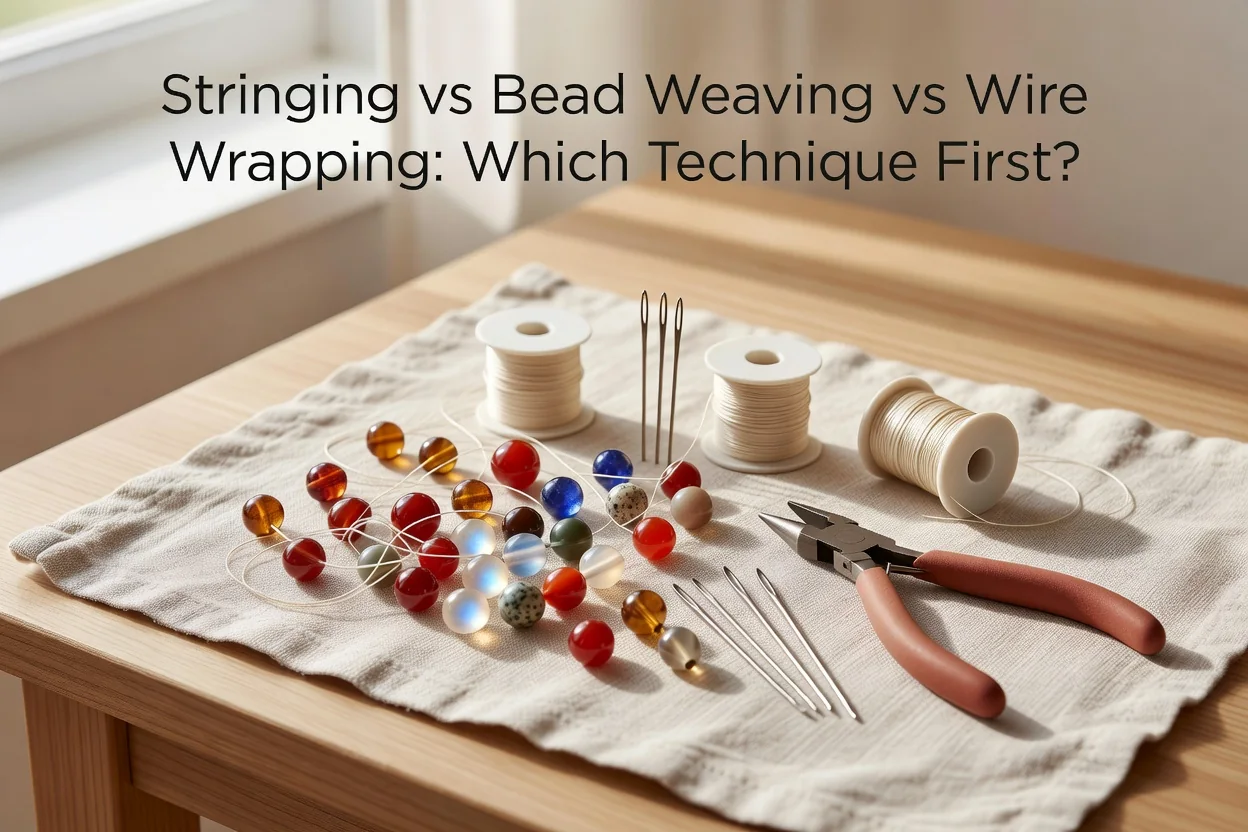
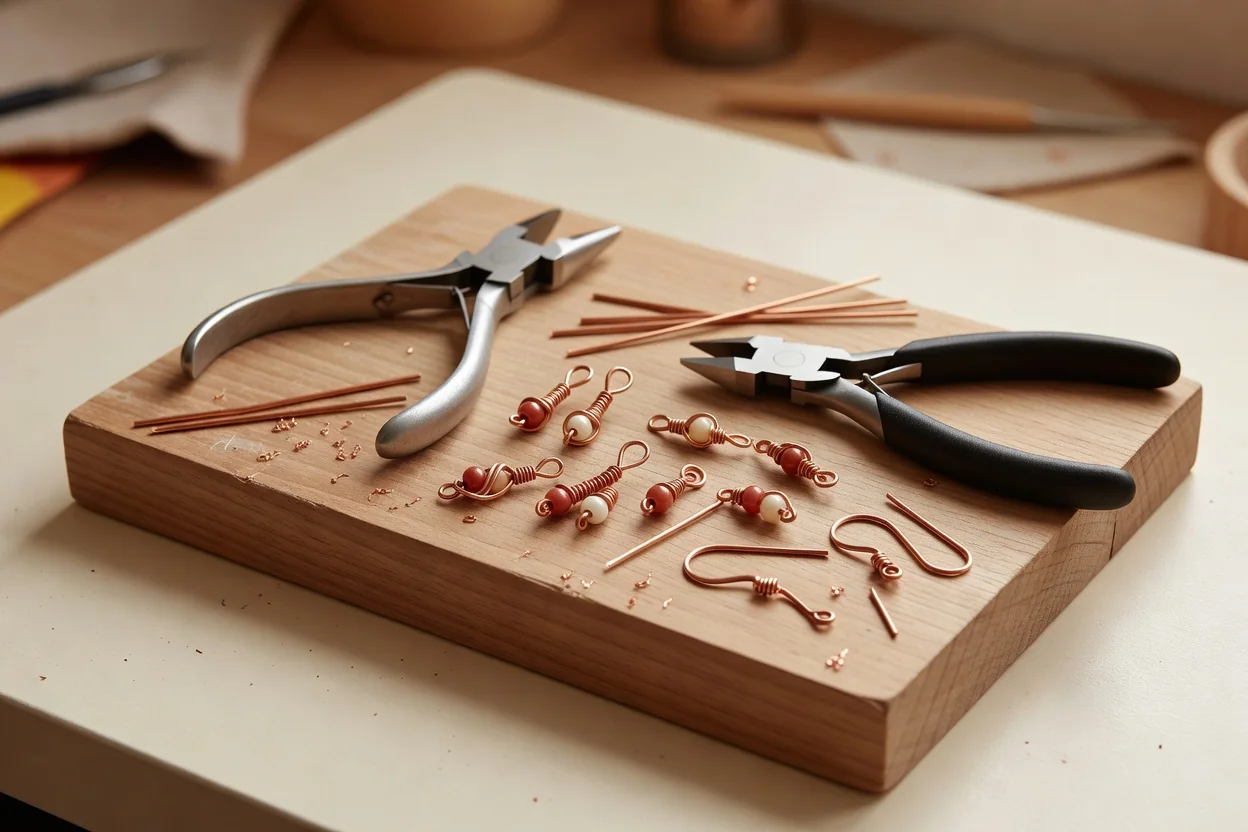
The technique relies on three essential hand tools that will serve you for years: round-nose pliers for shaping smooth curves, chain-nose pliers for gripping and straightening, and flush cutters for clean snips. Start with inexpensive craft wire to build muscle memory before moving to sterling silver or gold-filled stock. This approach prevents expensive mistakes while you learn the feel of the metal.
Choosing the Right Wire Gauge
Wire thickness affects both strength and how easily it passes through your beads. Most bead holes accept 20- to 24-gauge wire comfortably. Thicker wire gives a bolder look but may not fit tiny seed beads; thinner wire is more delicate and easier to wrap but can bend out of shape if the earrings are handled roughly. Always test your chosen wire in the bead holes before cutting lengths.
| Wire Gauge | Typical Use | Bead Hole Fit |
|---|---|---|
| 20 gauge | Heavy beads or bold designs | Larger holes, 1.5 mm+ |
| 22 gauge | Most standard beads | 1–1.5 mm holes |
| 24 gauge | Small or delicate beads | 0.8–1 mm holes |
Making a Perfect Wrapped Loop
The secret to neat loops is consistency of grip and pressure. Cut a 7 cm length of practice wire or use a headpin. Slide on your chosen bead or beads, leaving about 4 cm of wire above the top bead.
- Using chain-nose pliers, grip the wire firmly just above the bead.
- Bend the wire over the top jaw of the round-nose pliers to form a right angle.
- Reposition the round-nose pliers inside the angle and roll the wrist to create a centered loop.
- Switch to chain-nose pliers to hold the loop steady while wrapping the tail around the stem two or three times.
- Trim the excess wire with flush cutters and gently tuck the cut end against the stem using the tip of the chain-nose pliers.
Common beginner pitfalls include loops that sit off-center, visible gaps between wraps, and tiny sharp tails that can snag skin or clothing. These are easily fixed with practice. Keep your wraps tight and even by rotating the pliers rather than the wire. If the tail sticks out, use the very tip of the chain-nose pliers to press it flat. A quick polish with fine steel wool can smooth any remaining roughness.
Assembling Your Drop Earrings
Once your wrapped loops are consistent, assembly is straightforward. Choose two matching headpins, a set of complementary beads, and a pair of ear wires. The sequence is simple: slide the beads onto the headpin in your desired order, form a wrapped loop at the top, then open the loop of the ear wire, slip on the wrapped loop of the dangle, and close it securely. Repeat for the second earring. The result is a clean, professional pair that moves beautifully.
Many makers find that making ten or twelve practice loops before touching precious metal dramatically improves their final pieces. The motion soon becomes automatic, and the quiet satisfaction of creating something by hand never fades. These basic earrings make thoughtful gifts and wonderful first projects for anyone curious about wirework.
- Round-nose pliers
- Chain-nose pliers
- Flush cutters
- Practice wire in 22 gauge
- Headpins, beads, and ear wires
Keep your tools clean and dry, and store wire coils so they don’t kink. With these fundamentals you can move on to more complex wrapped designs, chain maille accents, or mixed-metal earrings. The wrapped loop is truly the gateway skill every wireworker returns to again and again.