How to Make Stretch Bracelets That Don't Snap
Stretch bracelets offer effortless style, but nothing frustrates more than watching one snap after just a few wears. The good news is that with the right techniques and materials, you can create elastic bracelets that stay strong through 2026 and beyond. The secret lies in matching cord to beads, preparing the elastic properly, and finishing knots so they stay secure without bulk.
Start by selecting the right elastic cord. Beading elastic, typically 0.5 mm to 1 mm thick, works best for most seed beads and small gemstones because it slides easily through tiny holes. For larger beads with 2 mm or bigger holes, choose a thicker 1.5 mm or 2 mm cord for added strength. Fabric-covered elastic gives a softer feel and slightly better resistance to abrasion but can be trickier to knot tightly. Always test that your chosen cord passes comfortably through every bead twice—once for stringing and once for the knot tail.
Preparing and Sizing Your Bracelet
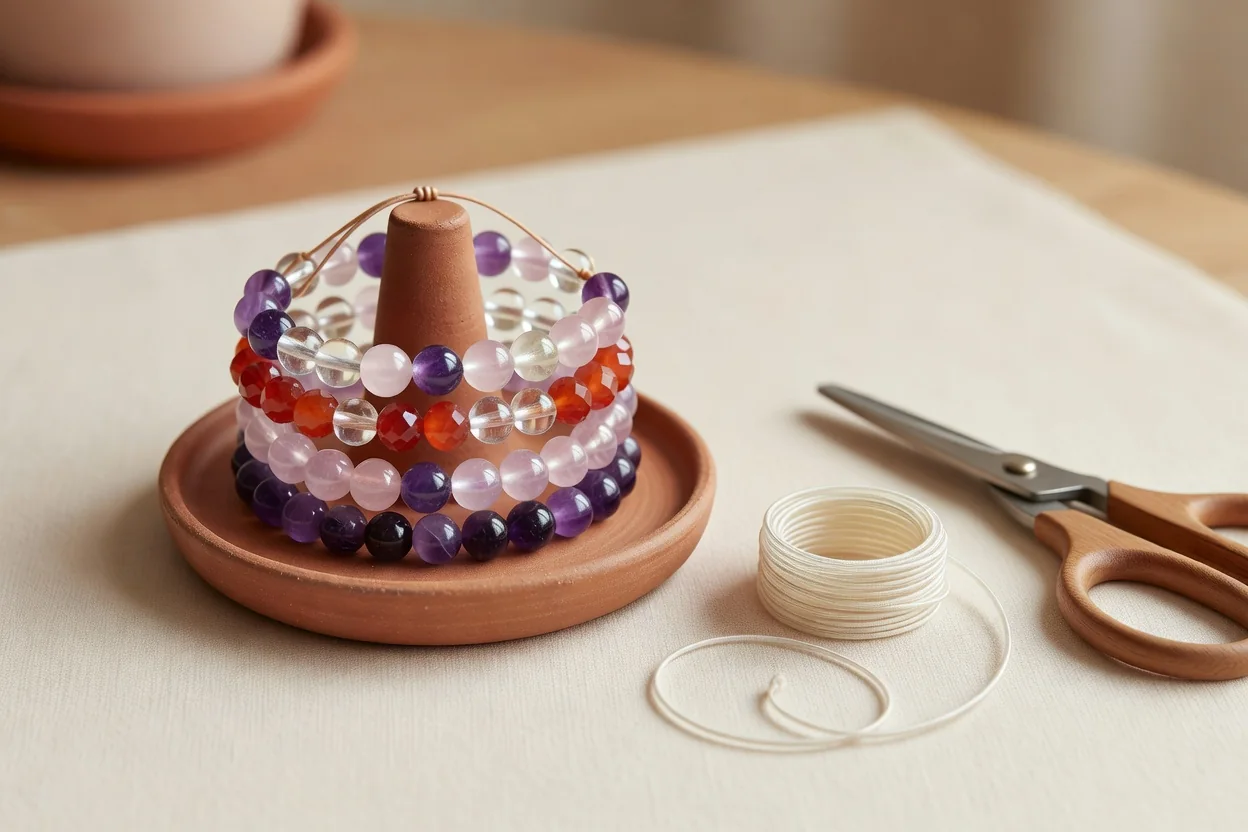
Pre-stretch your elastic cord before adding any beads. Cut a length about 12 inches long, then gently pull it between your hands ten to fifteen times. This removes the initial “give” so the finished bracelet won’t loosen after the first wear. For sizing, wrap a soft measuring tape around your wrist where you want the bracelet to sit—most adults fall between 6.5 and 8 inches. Add an extra half inch for comfort and movement. A sizing cone provides the most accurate fit: slide beads onto the cone until the loop sits snugly without gaps or tightness.
Knotting for Longevity
The surgeon’s knot is the most reliable choice for stretch bracelets. Begin by overlapping the two cord ends by about three inches. Tie a basic overhand knot but pass the right end through the loop twice instead of once. Pull both sides firmly to tighten. Then create a second overhand knot on top in the opposite direction and pull again. This double structure resists slipping even when the elastic stretches repeatedly.
Once the knot is tight, place a tiny drop of jewelry adhesive—clear, flexible types formulated for elastic work best—directly on the knot. Slide a large-hole bead or charm over the knot to hide it completely. Trim the tails close to the bead once the glue has cured for at least 24 hours. This combination of knot, glue, and bead cover keeps the elastic protected from friction and moisture that would otherwise cause fraying.
Numbered Steps for Your First Durable Bracelet
- Cut and pre-stretch 12 inches of elastic cord.
- Measure your wrist and add ½ inch for ease.
- String beads in your chosen pattern, leaving 3 inches of cord on each end.
- Tie a surgeon’s knot as described above and pull firmly.
- Add a small drop of jewelry adhesive to the knot.
- Slide a large-hole bead over the knot to conceal it.
- Allow glue to cure fully before wearing.
Key points
- Pre-stretch the elastic cord firmly before stringing the beads.
- A surgeon's knot with a drop of adhesive outlasts a plain overhand knot.
- Hide the knot inside a bead with a larger hole for a clean finish.
| Common Failure | Cause | Fix |
|---|---|---|
| Bracelet stretches out permanently | Cord not pre-stretched before stringing | Always pull cord 10–15 times prior to use |
| Knot slips and unravels | Single overhand knot or insufficient glue | Use surgeon’s knot plus flexible jewelry adhesive |
| Elastic frays and snaps | Yanking over hand or contact with perfume | Roll bracelet on gently; store away from chemicals |
| Beads slide or gap appears | Incorrect cord thickness for bead holes | Match cord diameter to twice the bead hole size |
Care habits matter as much as construction. Always roll the bracelet over your hand rather than stretching it wide to yank it on; this single change dramatically extends elastic life. Keep finished pieces away from perfume, lotion, and prolonged water exposure, which break down the latex or synthetic fibers over time. Store them flat in a cool, dry place rather than crammed in a jewelry bag where beads can rub against the cord.
With these methods—proper cord selection, pre-stretching, accurate sizing, secure surgeon’s knots, and mindful care—your stretch bracelets can remain favorites for years. The techniques require only a few extra minutes but prevent the disappointment of broken jewelry and lost beads. Once you make your first long-lasting piece, you’ll never go back to the snap-and-replace cycle again.