Right-Angle Weave Explained: From a Single Strip to Structured Beadwork
Right-angle weave, often called RAW, is one of the most versatile stitches in beadwork. At its heart, each unit is a simple square made from four beads. Every bead forms one side of the square, and the thread travels through them at 90-degree turns. This creates a grid that feels almost like tiny windows held together by thread.
The thread path in RAW is circular. You exit one bead, pick up three new ones, and pass through the fourth to close the square. Then you move to the next position by traveling through the side bead of the unit you just made. At first, the diagrams can look like a tangled web of arrows because the thread loops around each unit twice—once to build it and again to reinforce or connect. Once you stitch a few units, the logic clicks and the pattern becomes second nature.
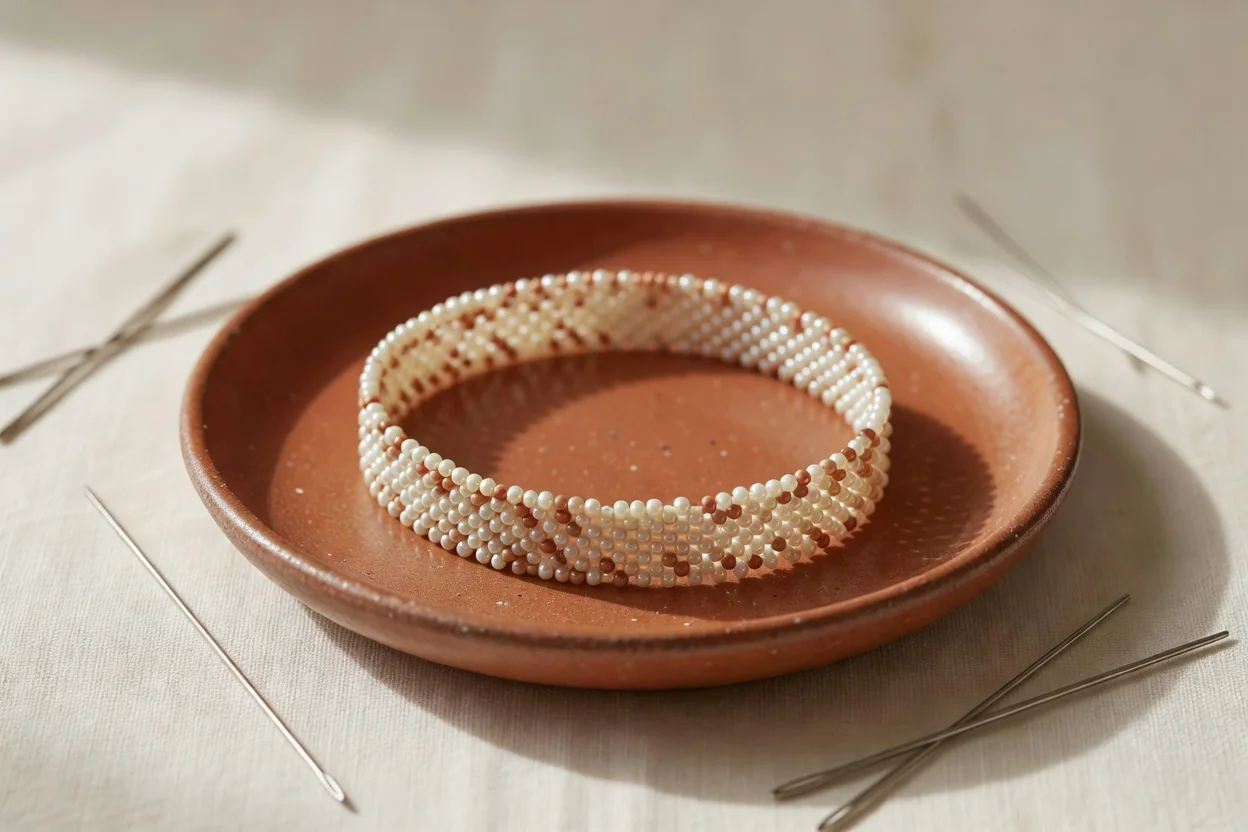
Single-Needle vs Two-Needle RAW
Most beginners start with a single needle and thread. You work in one continuous path, flipping the work as needed. Two-needle RAW uses two needles, one on each end of the thread, and is faster for building wide sheets because both hands stay active. For a first project, single-needle is plenty. The motion feels meditative once your fingers learn the rhythm of “three beads, pass through, step over.”
Building from Units to Fabric
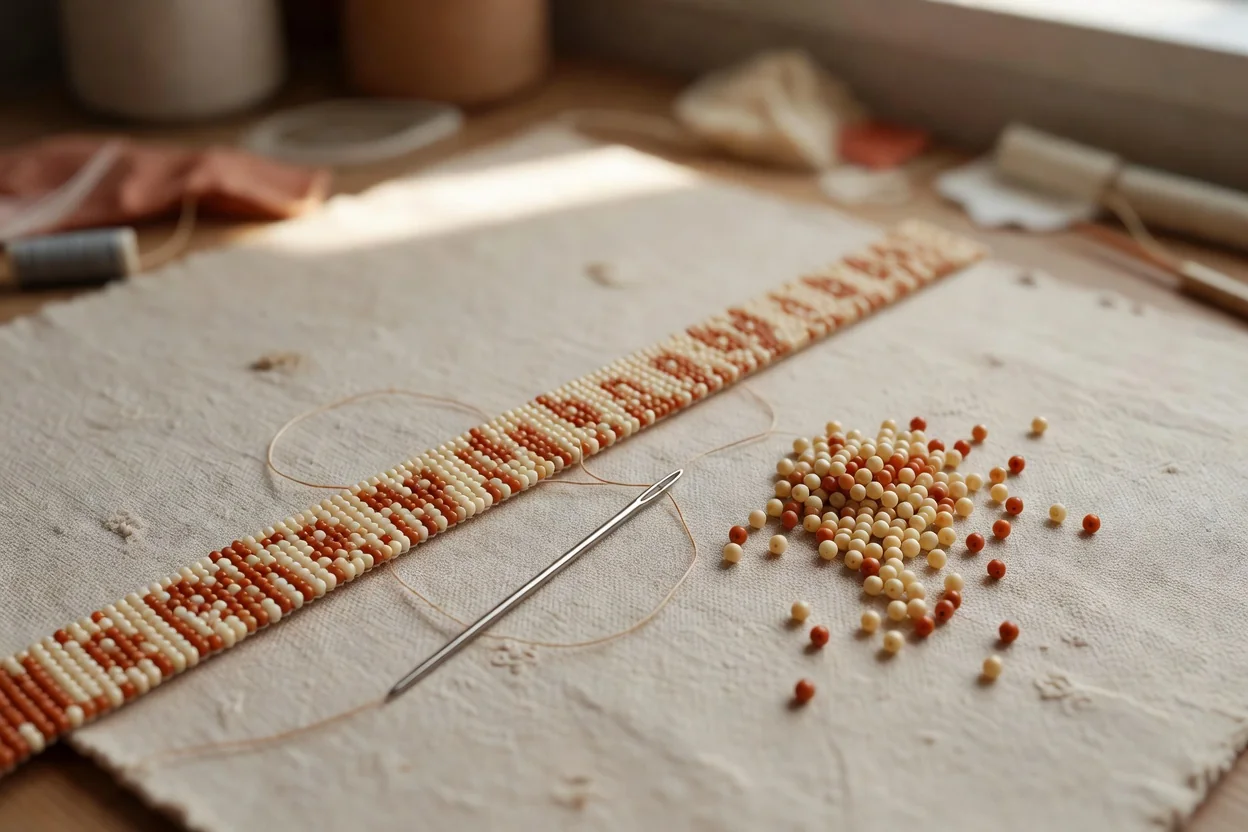
You begin with a single square, then add the next by sharing one side bead. After four or five units you have a narrow strip. To widen into fabric, you stitch a second row alongside the first, connecting each new square to two beads from the row above. The resulting cloth is supple enough to curve around a wrist yet holds its shape beautifully. That balance makes RAW ideal for bracelets that need to flex with movement but never look floppy.
Embellishment beads sit neatly on the “corners” where four base beads meet. A 3 mm fire-polished bead or tiny drop nestled in each hole adds texture and sparkle without changing the underlying structure. These accents also reinforce the weave, making the piece last longer.
A narrow bracelet band is the perfect first RAW project. Aim for a strip seven units wide and long enough to wrap your wrist plus 1.5 cm for the clasp. Use 8/0 seed beads for the base and 11/0s or 3 mm crystals for embellishment. The finished band will be about 1.5 cm wide—elegant, lightweight, and quick to finish in an evening.
- Start with a comfortable length of thread, about 2 meters, to avoid mid-project joins.
- Keep tension even but not tight; the squares should lie flat without cupping.
- Reinforce each row by passing through the beads a second time before starting the next row.
- Experiment with two colors in the base layer to see the square grid clearly.
| Stitch | Flexibility | Structure | Learning Curve |
|---|---|---|---|
| Right-Angle Weave | High – drapes smoothly around curves | Medium – holds shape yet remains pliable | Gentle – easy unit but thread path takes practice |
| Peyote | Medium – firm fabric with some give | High – very stable, minimal stretch | Moderate – counting offsets can feel tricky at first |
| Brick Stitch | Low – fairly rigid rows | High – strong linear structure | Easy – simple up-and-down motion after first row |
Once you master the basic square, RAW opens doors to three-dimensional shapes, beaded beads, and sculptural pieces. The stitch rewards patience with graceful results that feel substantial in the hand yet light on the wrist. Grab a needle, a small pile of beads, and give that first bracelet a try—you’ll soon see why so many beadworkers keep returning to this elegant four-bead square.