Brick Stitch Basics: Building Shapes for Earrings and Pendants
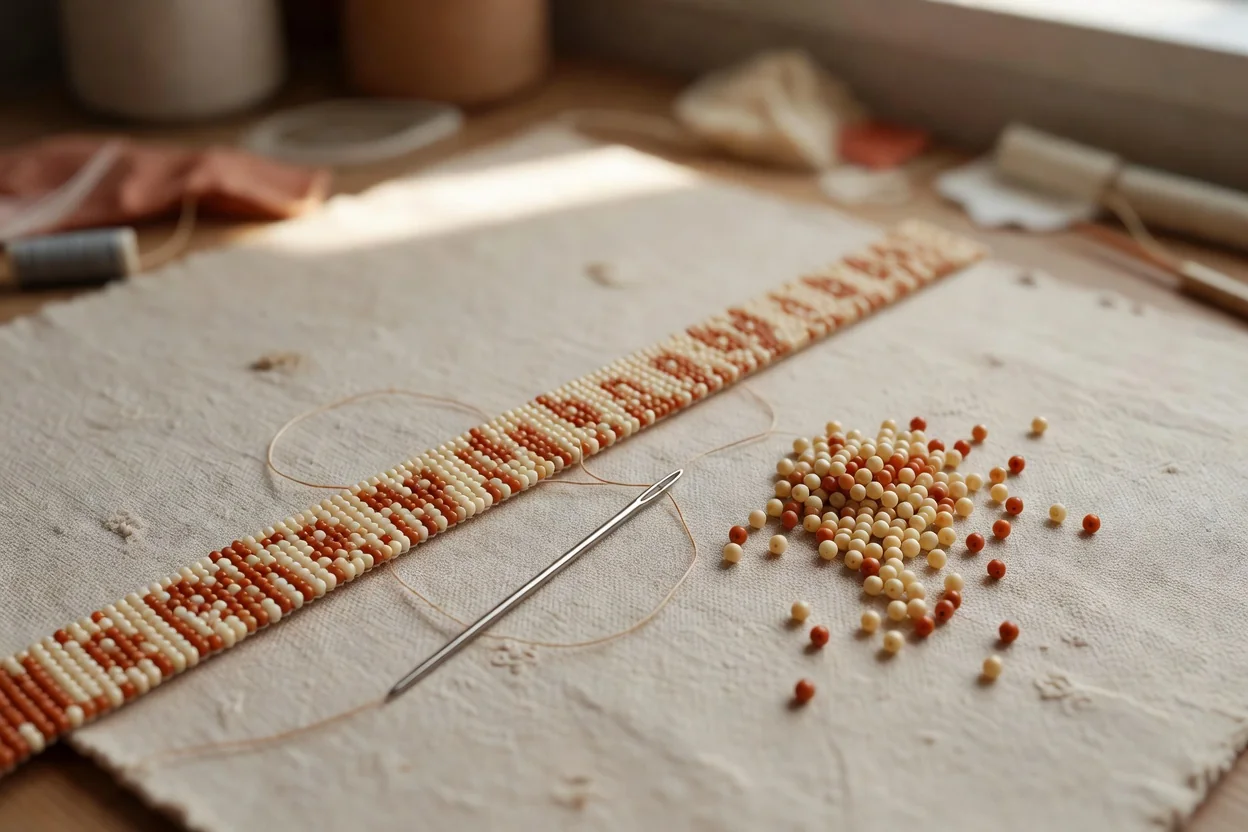
Brick stitch remains one of the most approachable bead-weaving techniques for creating small, sturdy shapes. Its clean lines and predictable structure make it ideal for earrings and pendants that beginners can finish in a single evening. Unlike more fluid stitches, brick stitch produces firm fabric that holds its shape without excessive stiffness.
The stitch gets its name from the way beads sit offset like bricks in a wall. This offset alignment creates gentle curves when increases and decreases are used, perfect for geometric earrings or tiny diamond pendants. With just a few grams of seed beads, a needle, and thread, you can build wearable art that feels substantial yet delicate.
Starting Strong: The Ladder Stitch Foundation
Every brick stitch project begins with a ladder stitch base row. This row acts as the anchor that determines the width of your shape. Pick up two beads, pass through both again, then add each subsequent bead by stitching through the previous one and back through the new bead. Keep tension even but not tight. A four-bead ladder makes a good starter width for petite earrings.
Once the ladder is complete, the real brick stitch begins. You’ll attach each new bead to the thread bridge between two beads in the row below rather than stitching directly through beads. This fundamental difference from peyote stitch gives brick stitch its characteristic staggered appearance and slightly more flexible drape.
Building Simple Shapes: Triangles and Diamonds
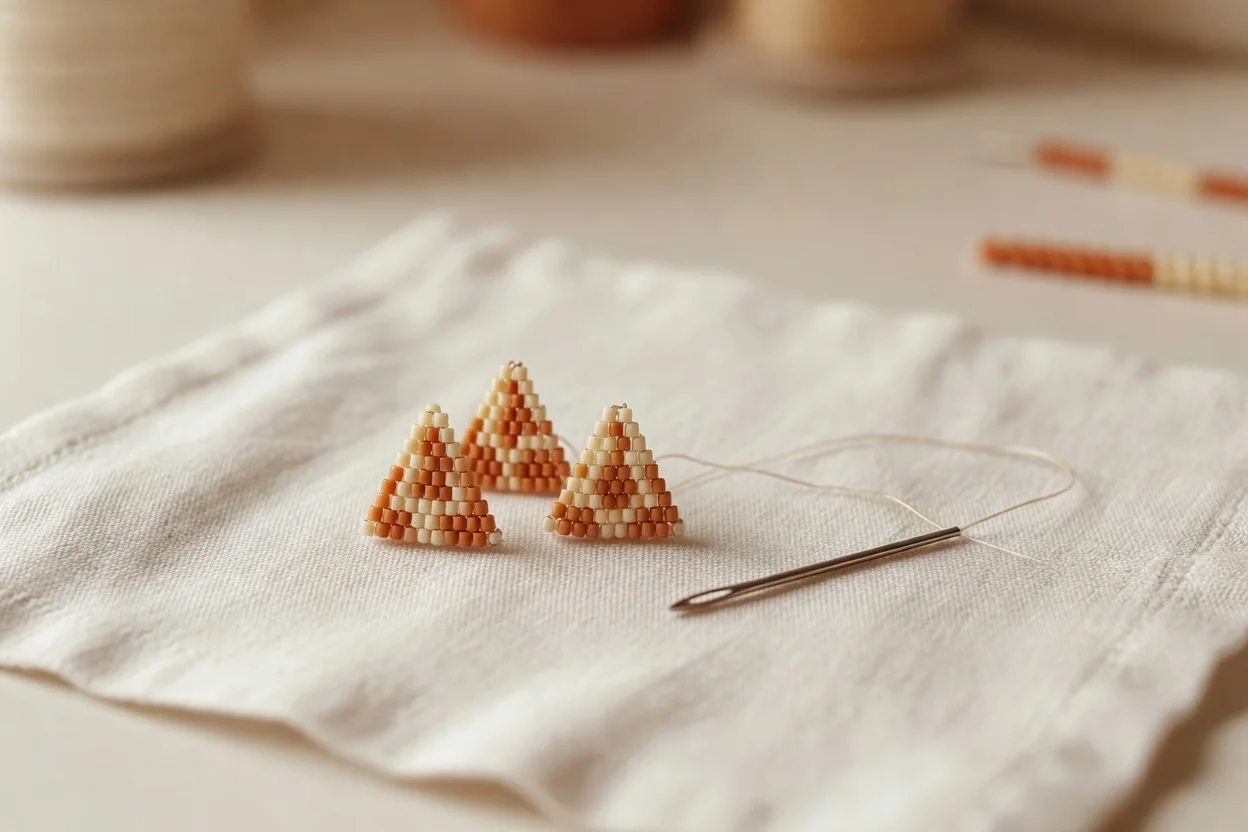
To form a triangle, you increase at the start of each row by adding two beads instead of one, then work across in standard brick stitch. For a clean right-angle edge on the opposite side, decrease by skipping the first thread bridge and starting on the second. A small equilateral triangle using 11/0 seed beads typically finishes in under an hour.
Diamonds require increases on both ends for the first half, then decreases on both ends for the second half. Maintain consistent tension so the sides stay straight. If edges begin to flare, it usually means the increases are placed too close together. Count your thread bridges carefully for the first few rows until the rhythm feels natural.
- Complete a four-bead ladder stitch base.
- Pick up two beads, pass needle under the first thread bridge of the ladder, then back down through the second new bead.
- For each following bead, pick up one bead, pass under the next bridge, and sew up through the bead just added.
- At row end, pass up through the last bead of the previous row to lock the stitch.
Finishing and Findings
Straight edges come from careful decreases. When decreasing, simply skip the first or last bridge of the row and begin stitching on the next available bridge. This pulls the edge inward without creating gaps. For earrings, end with a single-bead row at the top, then weave your thread through to reinforce before attaching a jump ring or ear wire directly through that top bead.
A neat attachment keeps the focus on the beadwork. After weaving in ends securely, add a small jump ring through the top bead or the final thread bridge. For pendants, a larger ring allows the piece to hang freely. Many makers prefer 4mm or 5mm rings for these small projects because they balance scale without overwhelming the design.
Key points
- Brick stitch anchors into thread bridges, so edges are easy to shape.
- Begin with a ladder stitch base the width of the finished piece.
- Small triangle earrings are a realistic first brick stitch project.
| Aspect | Brick Stitch | Peyote Stitch |
|---|---|---|
| Structure | Thread bridges between beads | Bead-to-bead stitching |
| Edge Behavior | Easy to keep straight with decreases | Naturally curves unless adjusted |
| Typical Use | Geometric earrings, small pendants | Tubular ropes, larger flat pieces |
Simple shape ideas that work beautifully in one sitting include tiny brick stitch hearts, lightning bolts, and graduated triangles that can be worn as a set. Start with two or three colors to see how the offset pattern creates visual interest even in basic forms. Once you master the increase and decrease rhythm, the possibilities for personal designs expand quickly.
The best part about brick stitch is how forgiving it feels once the foundation row clicks. Mistakes are easy to spot and correct before you’ve added too many beads. With practice, you’ll develop an intuitive sense for when to increase, decrease, or hold the line straight, turning small beads into polished wearable miniatures.