Essential Beading Tools and a Workspace That Actually Works
Beading rewards patience, but only if your tools and workspace don’t fight you. In 2026, the difference between a relaxing evening project and a frustrating one still comes down to having the right essentials within easy reach. A few well-chosen pieces will carry you through years of bracelets, earrings, and intricate necklaces without constantly replacing broken or dull equipment.
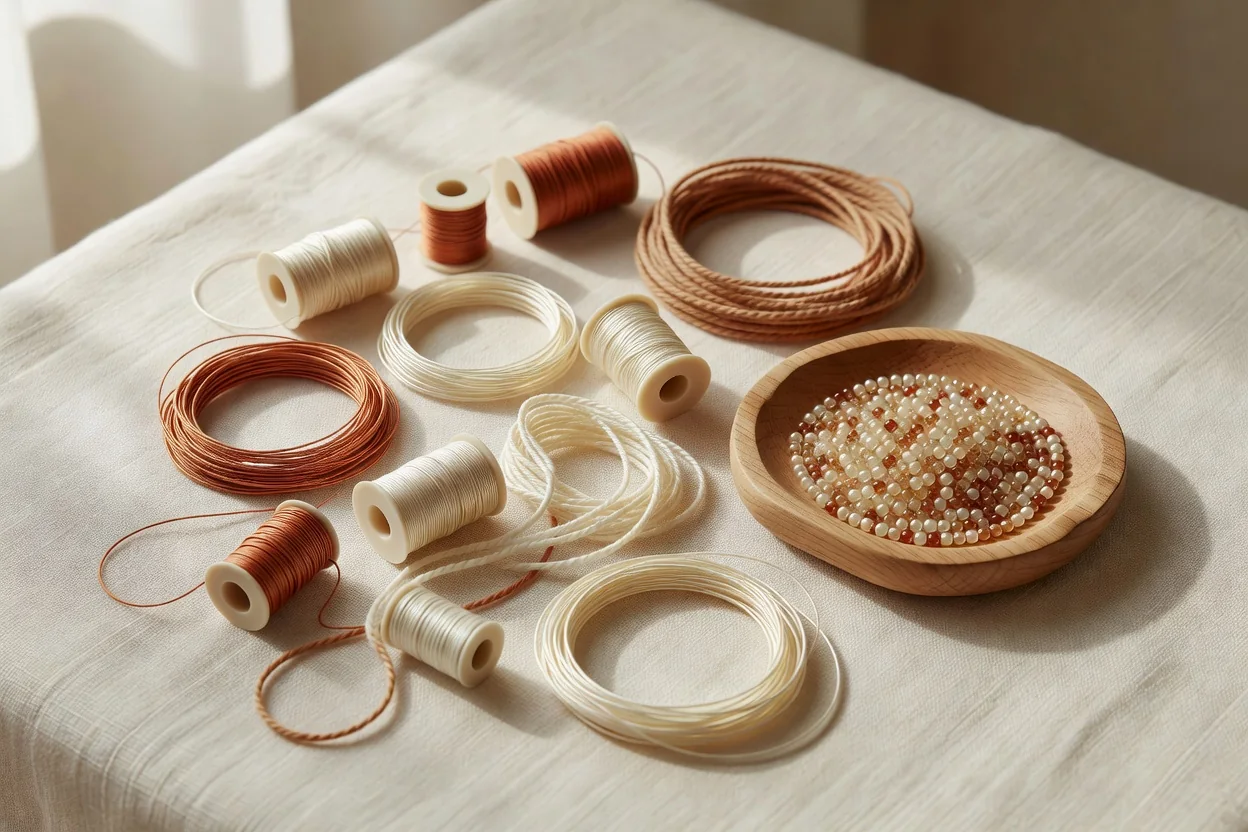
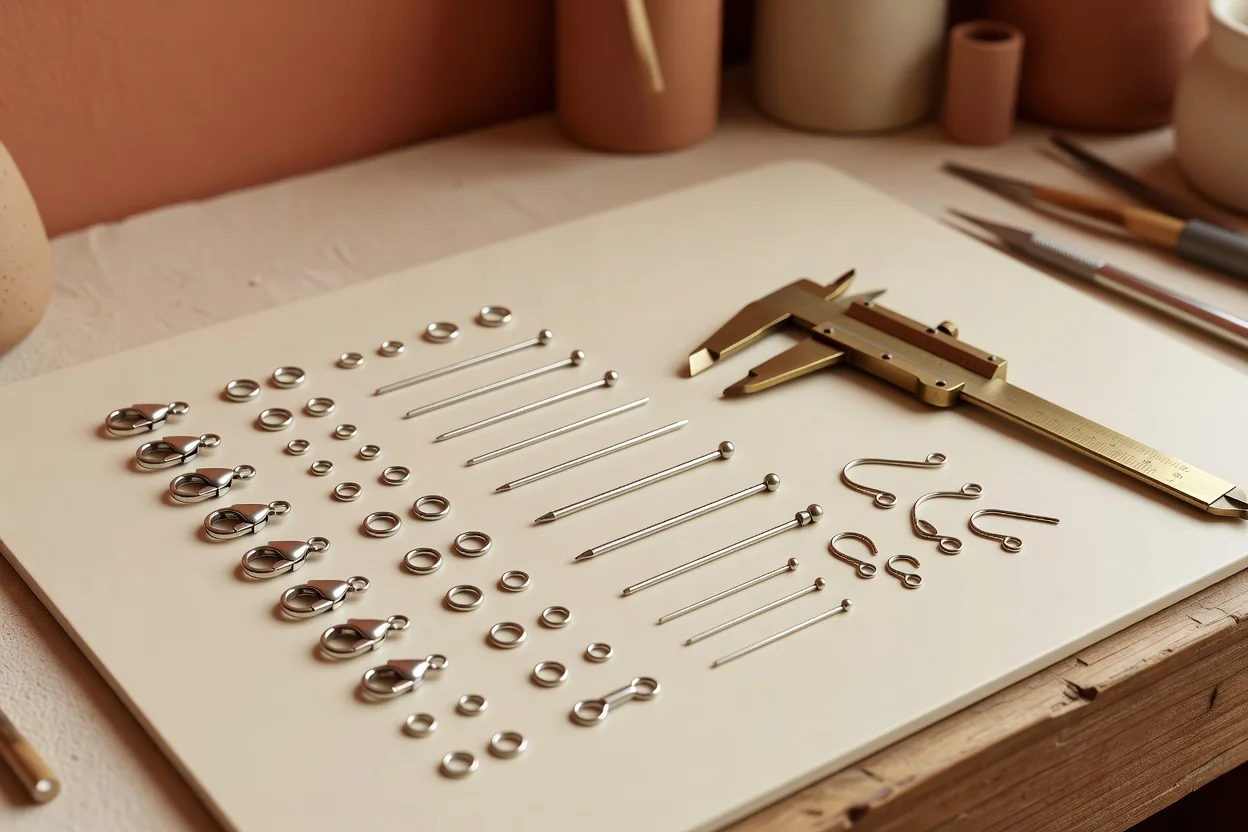
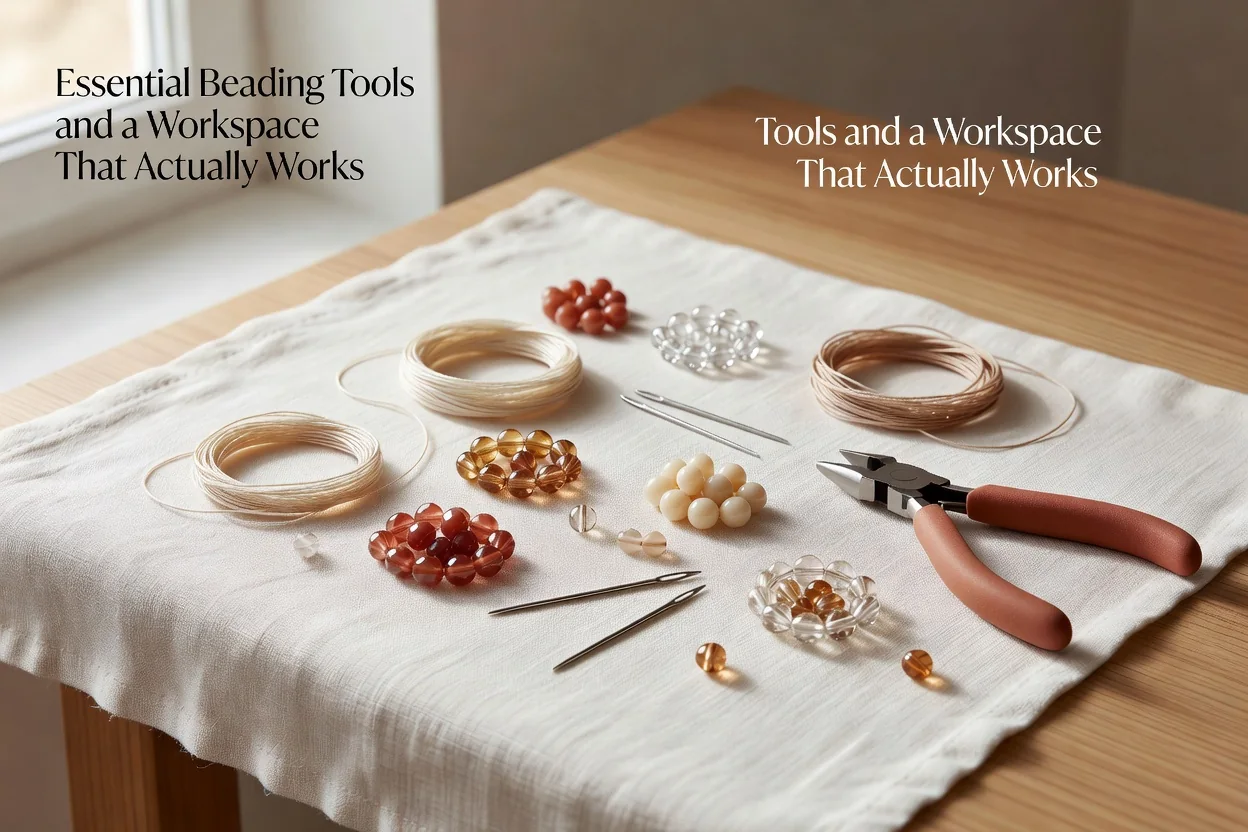
Start with quality over quantity. Invest in one excellent pair of chain-nose pliers, one pair of round-nose pliers, and a solid pair of flush cutters. These three tools handle 90 percent of wire and jump-ring work. Cheap versions bend, nick wire, or lose their edge after a month. Beading needles in sizes 10–13, a thread conditioner like beeswax or a commercial thread heaven, and a bead mat that actually grips tiny seed beads round out the core kit. Add a simple storage system—small labeled containers or a bead organizer with compartments—and you have everything needed to begin.
Building Your Workspace for Comfort and Clarity
Good lighting changes everything. A daylight-balanced LED lamp with adjustable arm prevents eye strain during evening sessions. Pair it with a 2x or 3x magnification visor or a swing-arm magnifier. Your seating and table height matter more than most realize. Choose a chair that supports your lower back and keeps your forearms parallel to the work surface. Many beaders now use a slightly angled work tray that brings projects closer without hunching. Keep your bead mat centered, tools on a small rotating tray to the dominant side, and storage within arm’s reach to avoid constant twisting.
Organizing beads by both color and size prevents wasted time hunting for that one perfect 11/0 in dusty rose. Shallow drawers or stackable boxes labeled with both details work best. Clear lids let you see contents at a glance, while consistent labeling saves frustration when inspiration strikes at midnight.
Optional Tools That Earn Their Keep
Once the basics feel natural, certain upgrades become obvious. Crimping pliers create neat, professional finishes on beading wire. A bead reamer smooths rough holes that shred thread or fray cord. For larger projects, a small loom opens up bracelet and band possibilities. These tools stay in their boxes until you need them, preventing clutter in your early days.
Quality still trumps having every gadget. A single superb pair of flush cutters will outlast a drawer full of mediocre ones. Focus first on mastering the core kit before expanding.
| Item | Typical Price Range (2026) | Priority |
|---|---|---|
| Chain-nose pliers | $12–28 | Essential |
| Round-nose pliers | $12–28 | Essential |
| Flush cutters | $15–35 | Essential |
| Beading needles (pack) | $4–9 | Essential |
| Thread conditioner | $5–12 | Essential |
| Bead mat | $6–15 | Essential |
| Crimping pliers | $18–32 | Later |
| Bead reamer set | $10–22 | Later |
- Keep cutters sharp—dull blades crush wire instead of cutting cleanly.
- Store pliers closed in a soft pouch to protect their tips.
- Replace bead mats when the surface loses its grip.
- Test lighting at night before committing to a full setup.
- Label storage containers on both top and side for quick identification.
A thoughtful workspace turns beading from occasional hobby into daily pleasure. With these tools and layout principles, you’ll spend more time creating and less time fighting your setup. The best part? Once arranged properly, the system stays useful for years, growing naturally as your skills expand.