Repairing and Restringing Beaded Jewelry: What You Can Fix at Home
Beaded jewelry often outlives its original stringing material. A favorite necklace can snap during a hurried morning or a bracelet can slowly lose its snug fit after years of wear. In 2026 many of us still prefer to handle small repairs at home rather than send every piece to a jeweler. Knowing which failures you can safely fix and which tools actually help prevents further damage and saves money.
Most breaks fall into a handful of categories. A crimp bead may pull open, elastic cord stretches beyond recovery, silk or nylon thread frays where it rubs against metal, or a clasp bends until it no longer closes securely. Spotting the exact point of failure tells you whether a five-minute fix or a full restring is required.
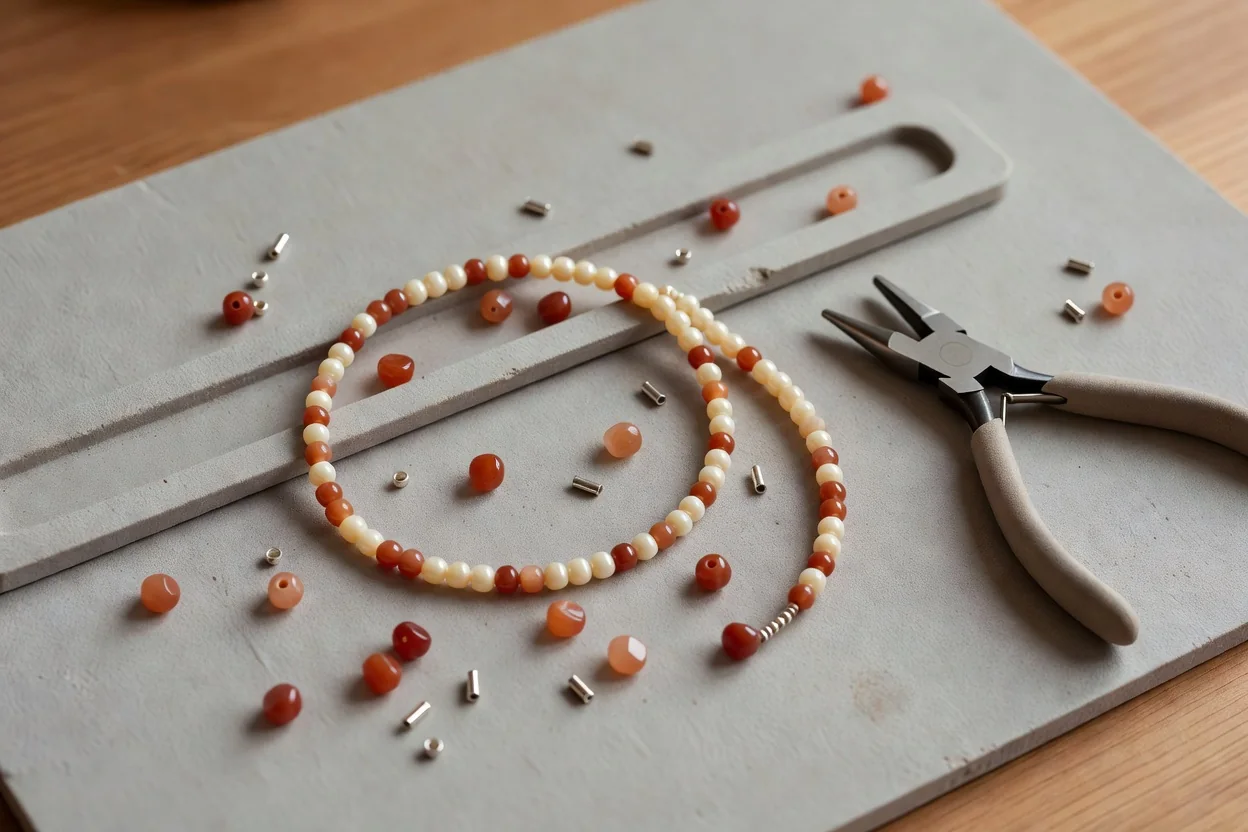
Essential Tools for Home Repairs
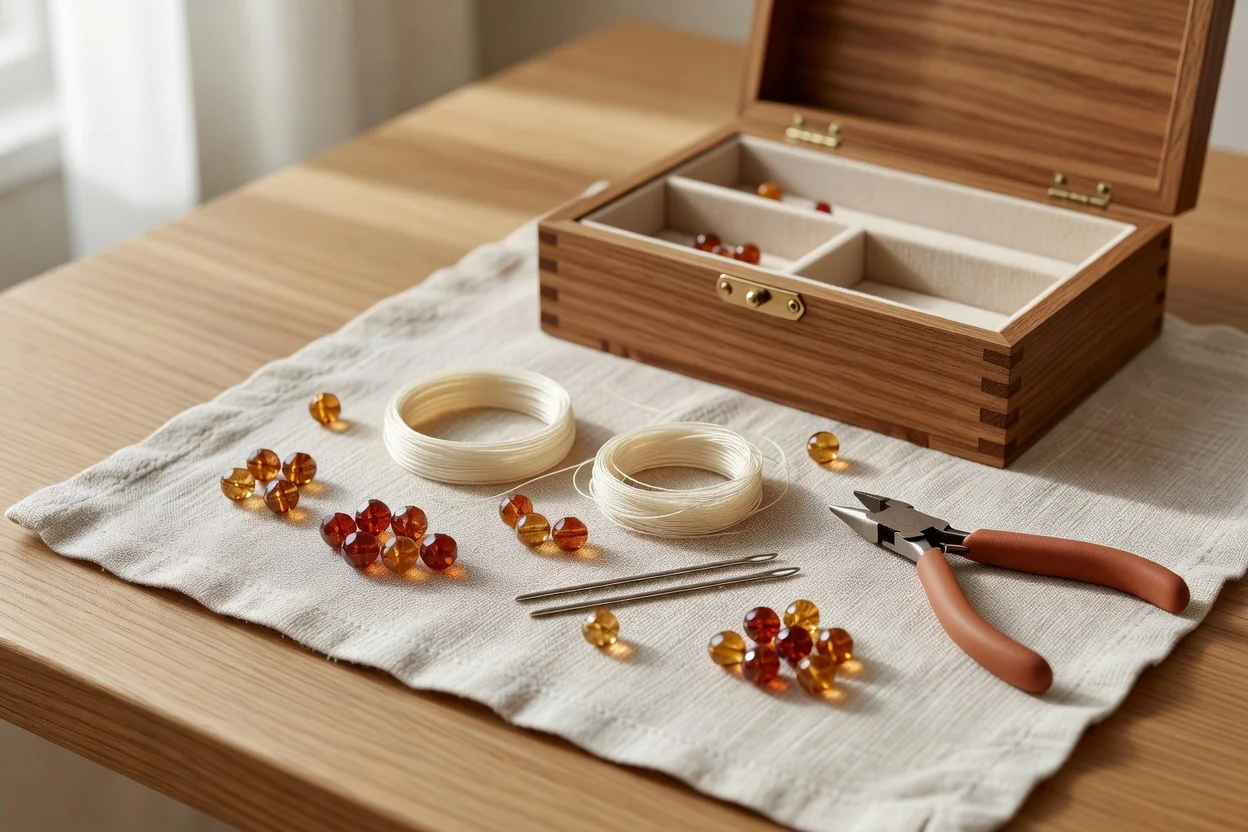
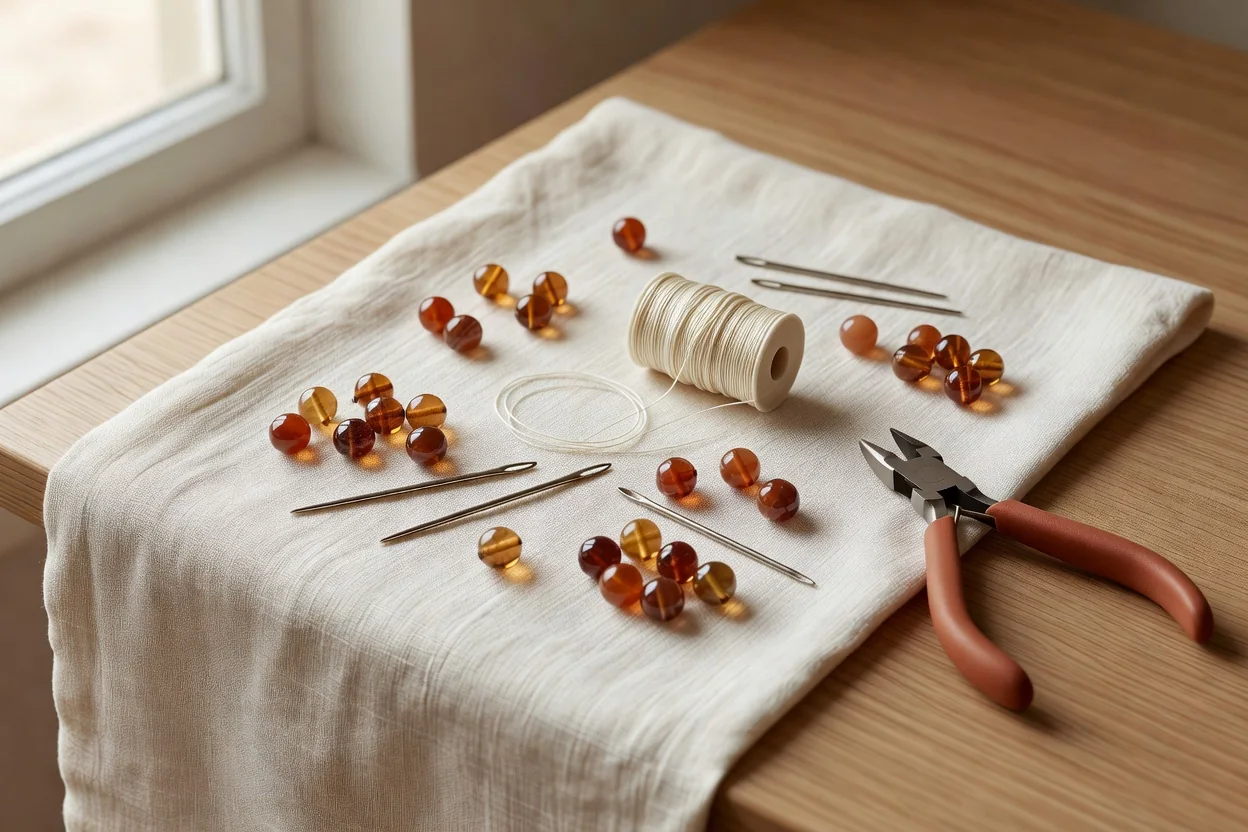
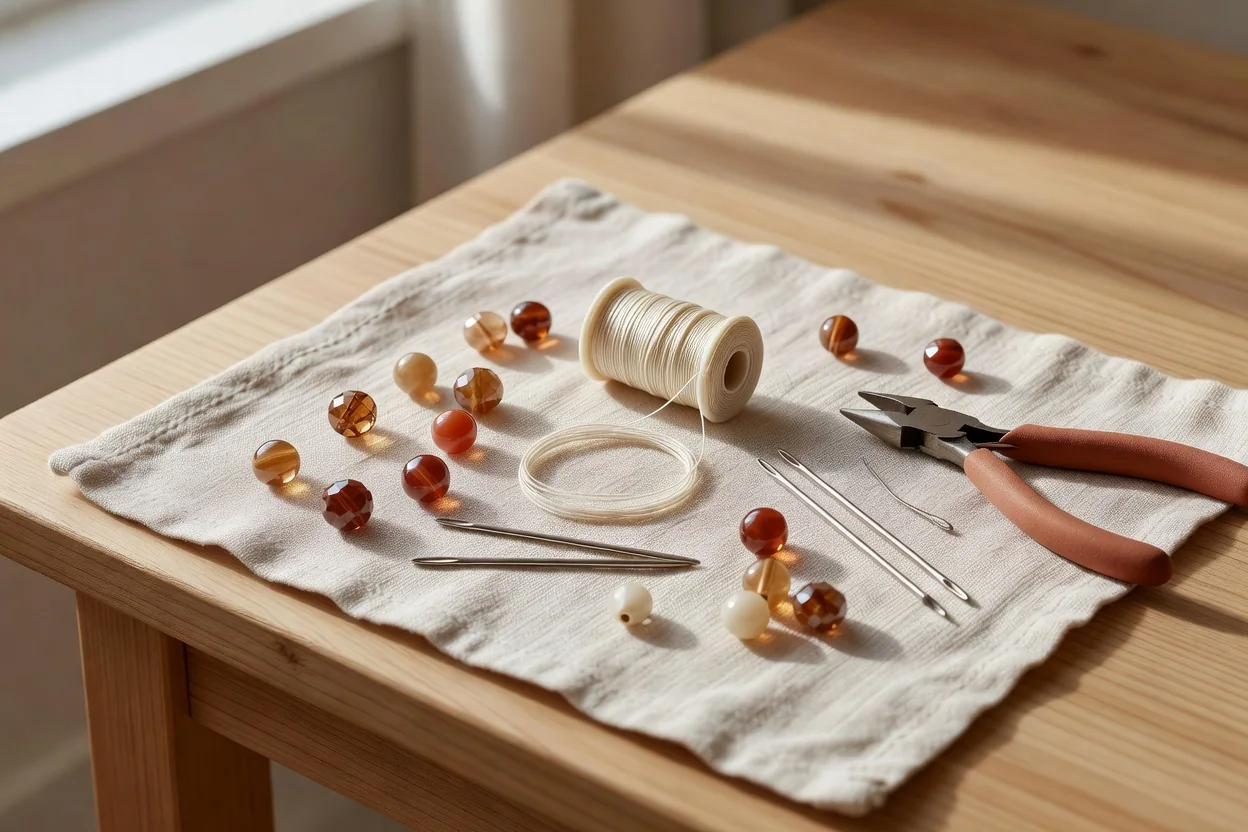
Gather a small kit before you begin. You will need flush cutters, chain-nose pliers, crimping pliers, a bead board or towel to keep beads from rolling, flexible beading wire in .018–.024 inch diameters, fresh crimp tubes or beads, wire guardians, and strong nylon or silk cord for knotting styles. A magnifier and good lighting make tiny work far less frustrating. These items fit easily into a shoebox and last for dozens of repairs.
Restringing a Necklace on Fresh Wire
Start by measuring the original length, adding two inches for working room. Cut new beading wire, slide on a crimp tube and a wire guardian, then pass the wire through the clasp loop and back through the guardian and crimp. Flatten the crimp with crimping pliers, then add beads in the recorded order. Once complete, add another crimp, wire guardian, and the other half of the clasp. Tension the strand so it drapes naturally but has no visible gaps. Squeeze the second crimp closed and trim excess wire close to the crimp. The result feels secure and looks professional.
Replacing a broken clasp follows almost the same path. Remove the old clasp by clipping the original crimps or knots, then follow the steps above using the new clasp. Many commercial clasps in 2026 use standard loop sizes, so matching the replacement is straightforward.
Reviving Elastic Bracelets
Elastic cord loses elasticity after repeated stretching. To repair, cut away the old cord and lay the beads out in the correct sequence. Use fresh 1 mm elastic, string the beads, and tie a surgeon’s knot or square knot between the first and last bead. Add a drop of clear jewelry glue, let it cure for ten minutes, then trim the tails. Some makers prefer to knot between every bead; this is worth doing when the beads are heavy or have sharp edges that could cut the cord. For lighter seed beads, a single secure knot at the end usually suffices.
| Common Failure | Home-Fix Difficulty | Tools Typically Needed |
|---|---|---|
| Broken crimp bead | Easy | Crimping pliers, new crimps, wire guardians |
| Stretched elastic cord | Easy | Scissors, fresh elastic, glue |
| Frayed thread on knotted strand | Moderate | Beading needle, silk cord, knotting tweezers |
| Bent or broken clasp | Easy | Flush cutters, replacement clasp, pliers |
| Loose knots between beads | Moderate | Beading cord, glue, magnifier |
Not every piece belongs in a home repair kit. Valuable pearls risk surface scratches from pliers or improper knot placement. Complex woven beadwork such as peyote or right-angle weave can unravel quickly if a single thread is cut. Sentimental items with irreplaceable components deserve the steady hands of a professional restorer who can match original materials and techniques. When in doubt, photograph the piece and consult a local studio before cutting anything.
With practice, restringing becomes meditative. You rediscover the weight and color of each bead while creating a stronger foundation than the factory provided. A well-repaired necklace can easily outlast its owner and become the heirloom someone else will one day learn to restring at their own kitchen table.
- Always work over a tray or bead mat to catch stray beads.
- Match the diameter and flexibility of the new wire or cord to the original design.
- Test clasps and tension before final crimping or knotting.
- Keep a small notebook of lengths and bead counts for favorite pieces.
Home repair keeps favorite jewelry in daily rotation without constant replacement. The skills scale with experience, and the satisfaction of saving a treasured strand never fades.